Make an animation with any image
Posted on - February 14, 2024 by Andy Cinquin
Motion designAnimationRiveAfter effectPhotoshopWebFree Animation TutorialAnimated Background CreationAdobe After Effects BasicsUsing Midjourney for ImagesAnimating without Adobe SuiteBing Image Creator TipsLeonardo AI for Image EditingRive and Lottie AnimationImage Clipping TechniquesLayer Animation Methods
In this tutorial, we'll look at how to create this kind of animation and background, what the steps and possibilities are, and how to do it all for free (with or without the Adobe suite). Bear in mind that the Adobe suite only saves time!
Paid and premium versions:
Prerequisites :
Prerequisites :
- Photoshop
- Midjourney
- After Effects
- A place to host your animation, your own server, your own site
Step 1: Generate an image with MidJourney (or other AI)
Step 2: Detour each element separately (the elements to be animated)
Step 3: Put everything into After Effects, then hand-animate each element that has been cropped.
Step 4: render as a video, or image sequence, and tadaaa
Step 2: Detour each element separately (the elements to be animated)
Step 3: Put everything into After Effects, then hand-animate each element that has been cropped.
Step 4: render as a video, or image sequence, and tadaaa
Free version (trickier, but it can be done!):
Prerequisites :
- Bing Image Creator (go to Copilot -> Bing search bar)
- Leonardo (or other generative AI)
- Photopea (simplified online Photoshop)
- Rive (or Lottie)
Bing image
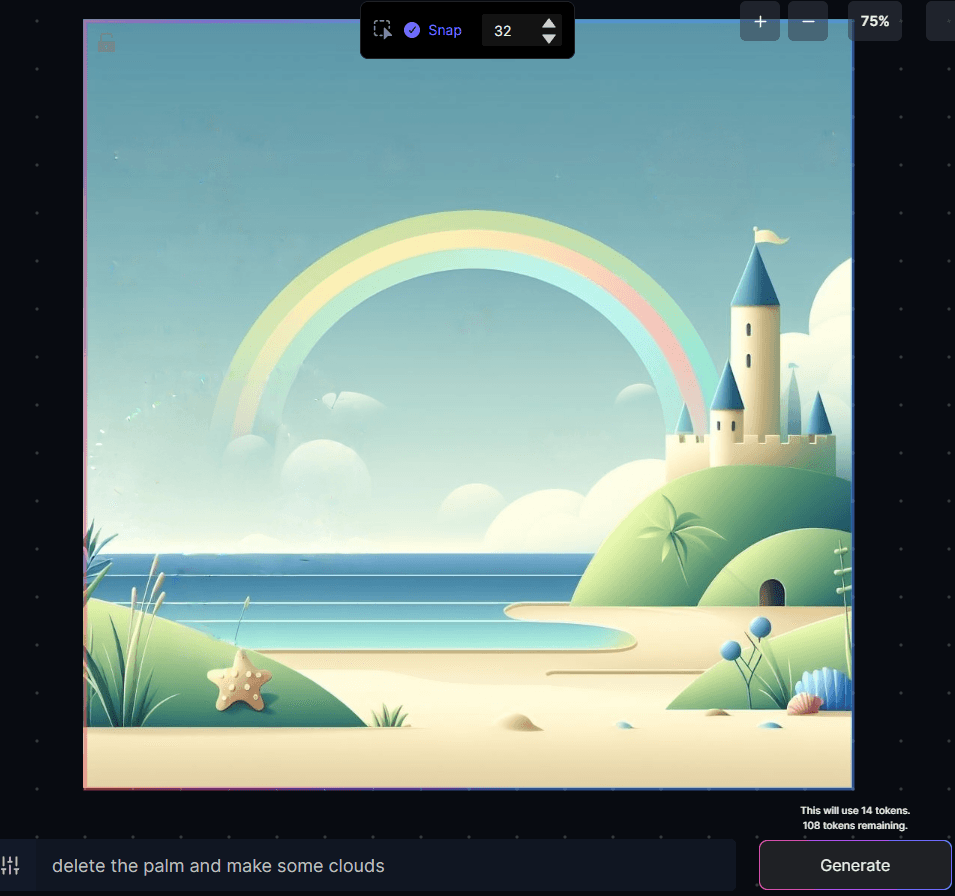
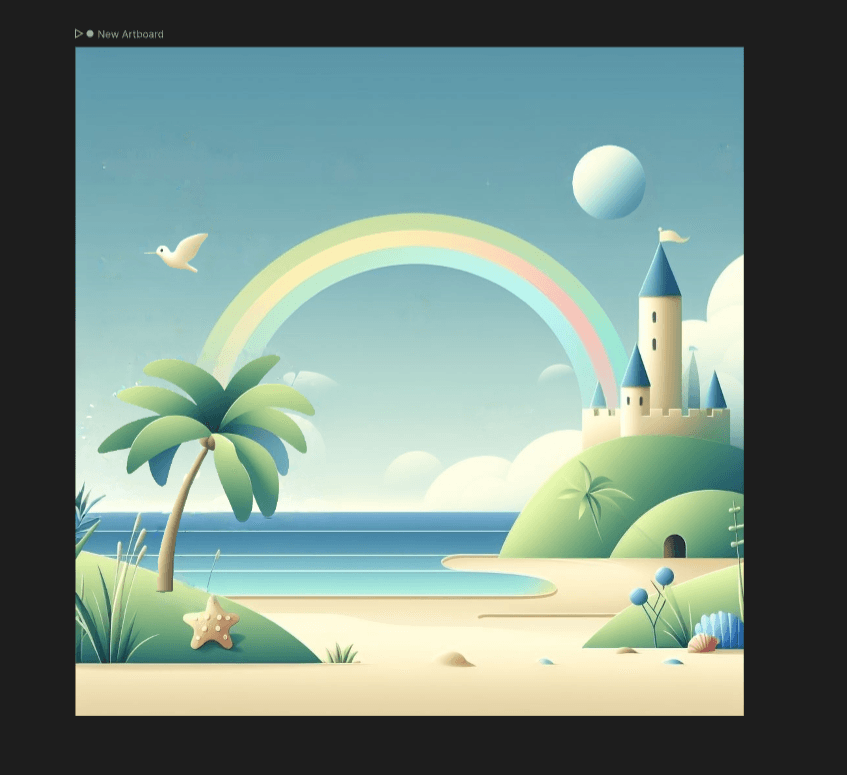
We start with Bing Image (or any other free image generator), and ask for what we want. It's best to ask for something simple, minimalist, vector-based and with lots of contrast, as this will help us in the following steps. Pro and paid version: we use Midjourney
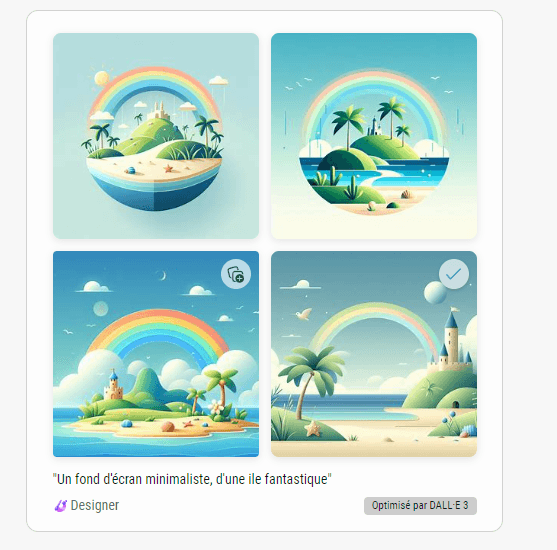
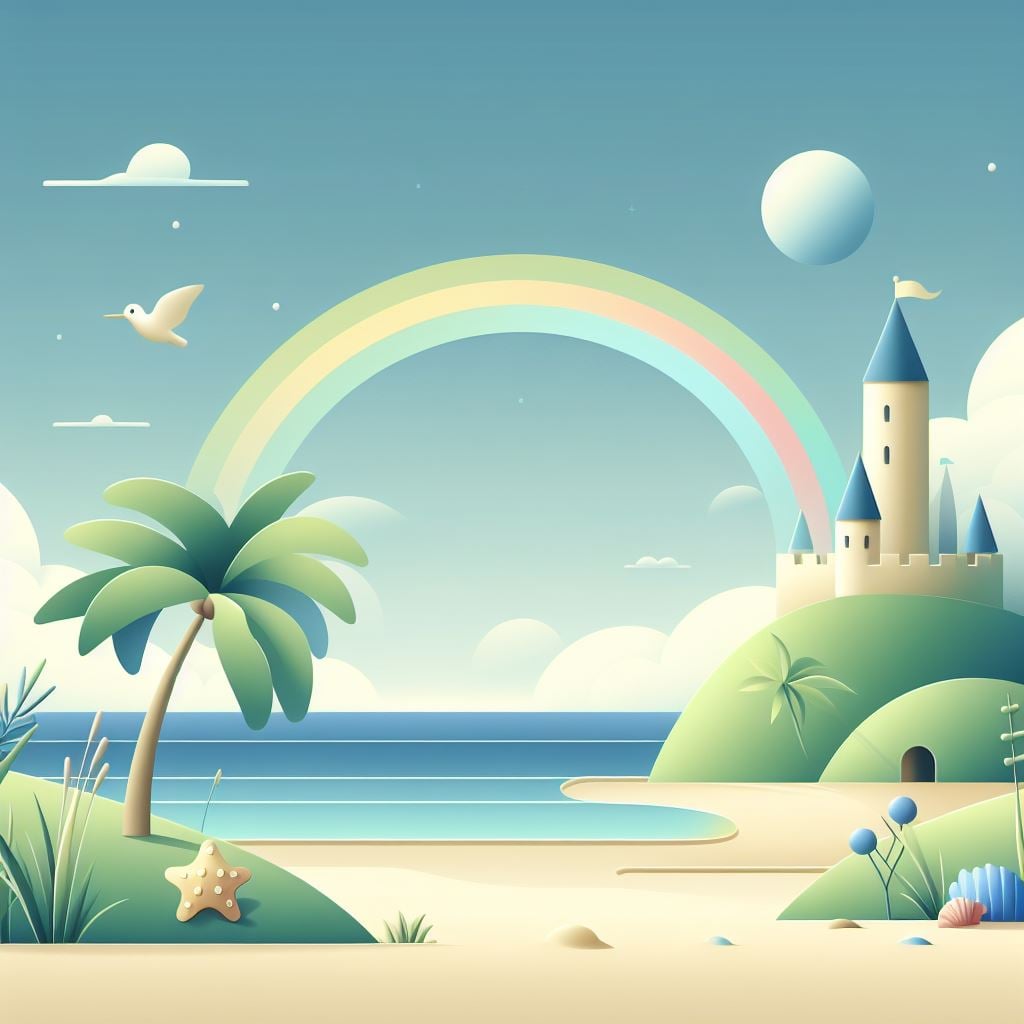
Once we've generated our images, we choose the one we like best, and which we want to animate and bring to life. We save this image, as we'll be needing it in the future
Leonardo edit
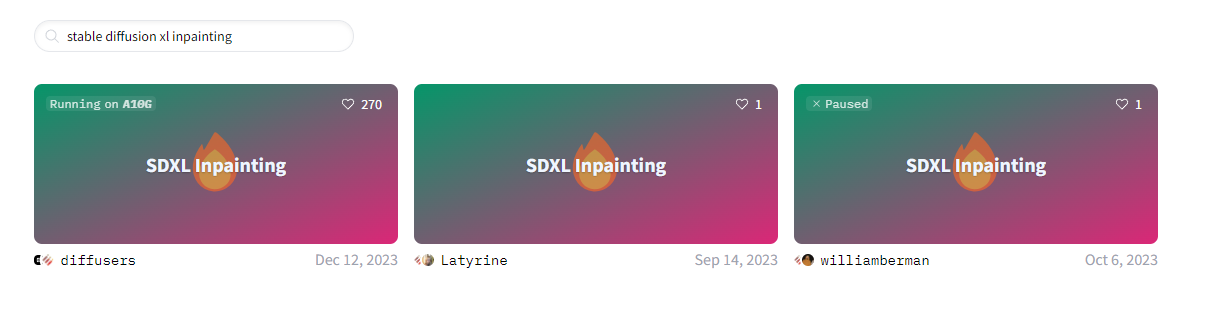
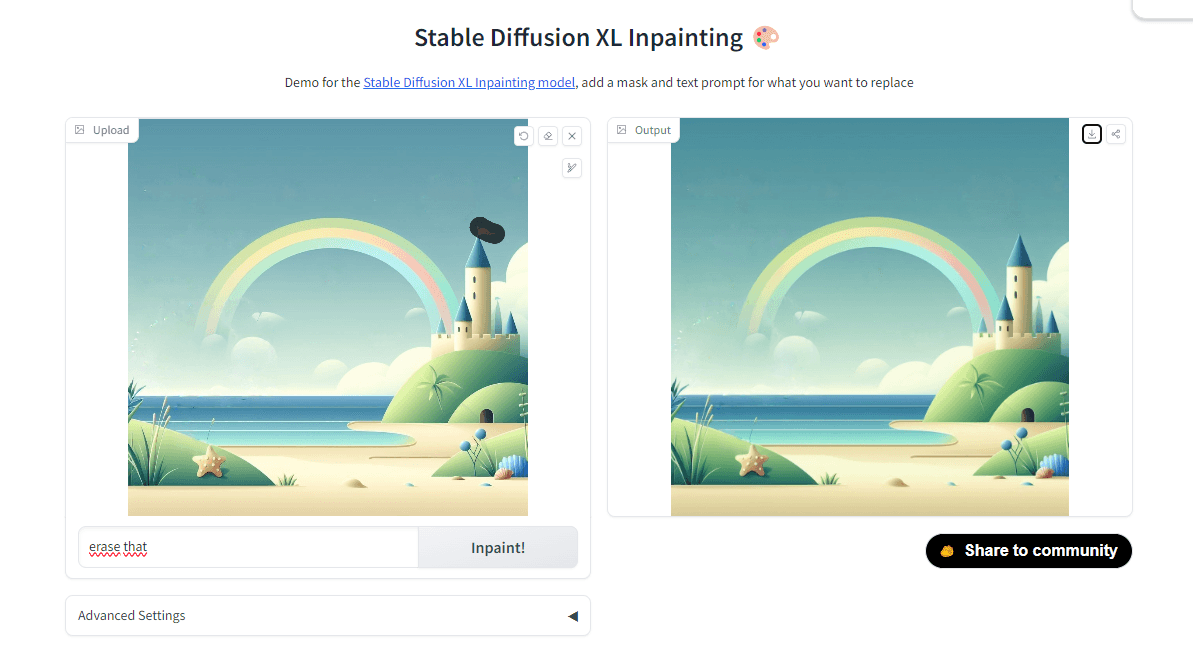
Free alternative (thanks Bréval): SDXL Inpainting - a Hugging Face Space by diffusers
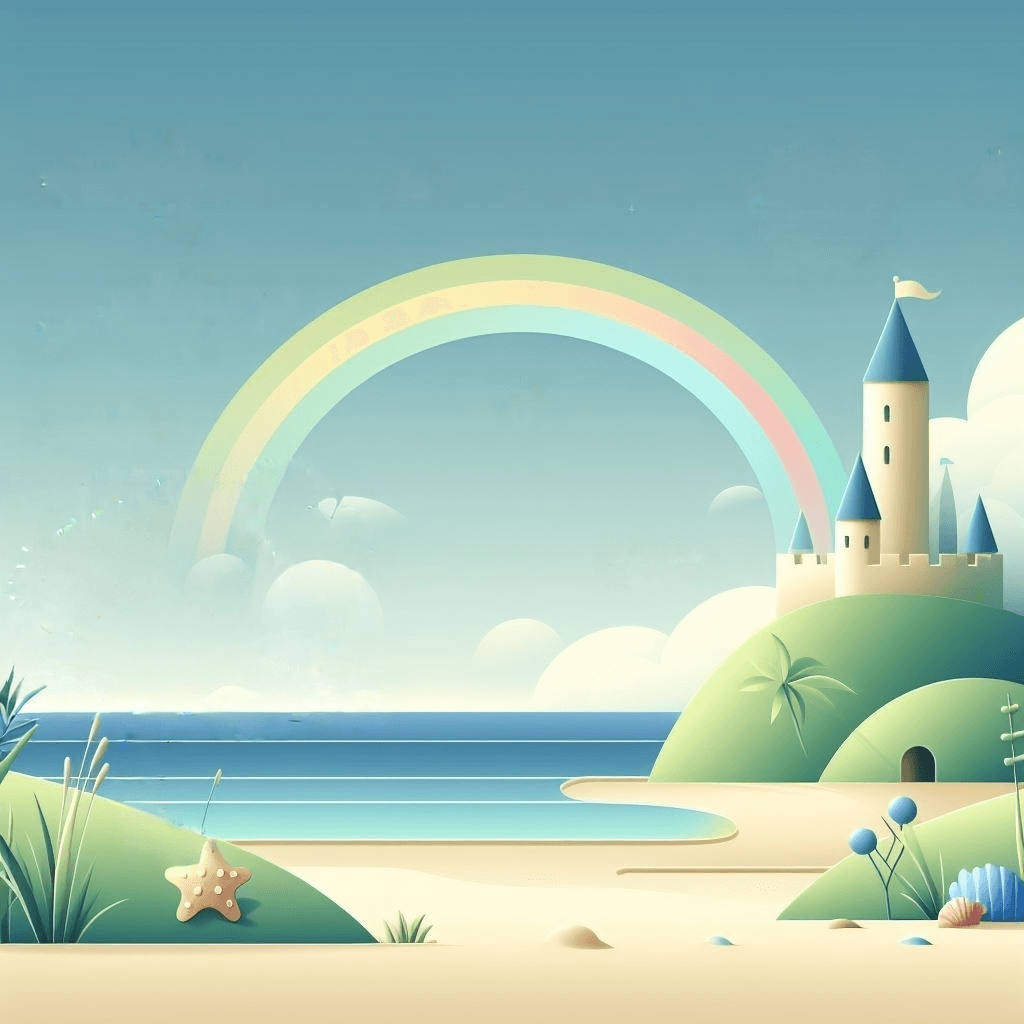
Here, we take a tool capable of generating image completions and replacements. Leonardo IA is very good for this in the free version (you have a few daily credits, normally that's enough) Pro version: Adobe Firefly / Photoshop
We're going to delete the elements we want to animate, so as to have the normal background without the element, and to have what's behind the object when we hijack it.
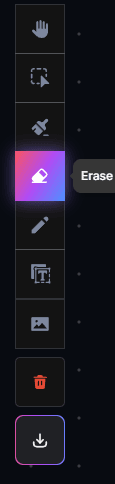
On Leonardo, this is the "erase" tool:
On Photoshop, it's the "generative fill" or "fill according to content" tool (behind the little bucket).
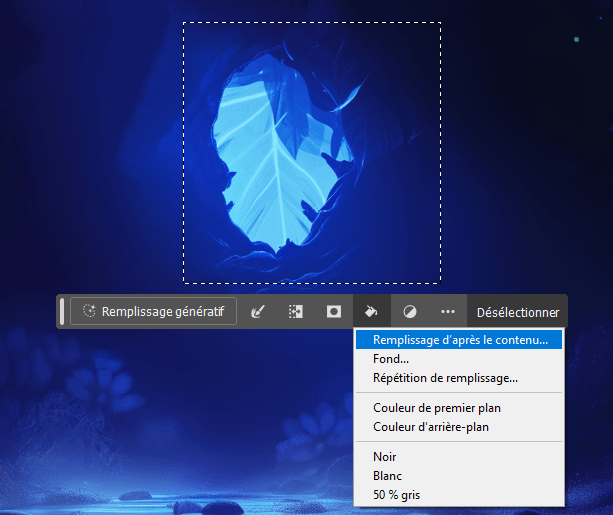
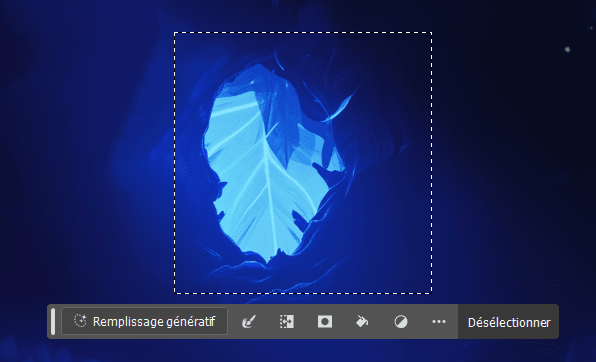
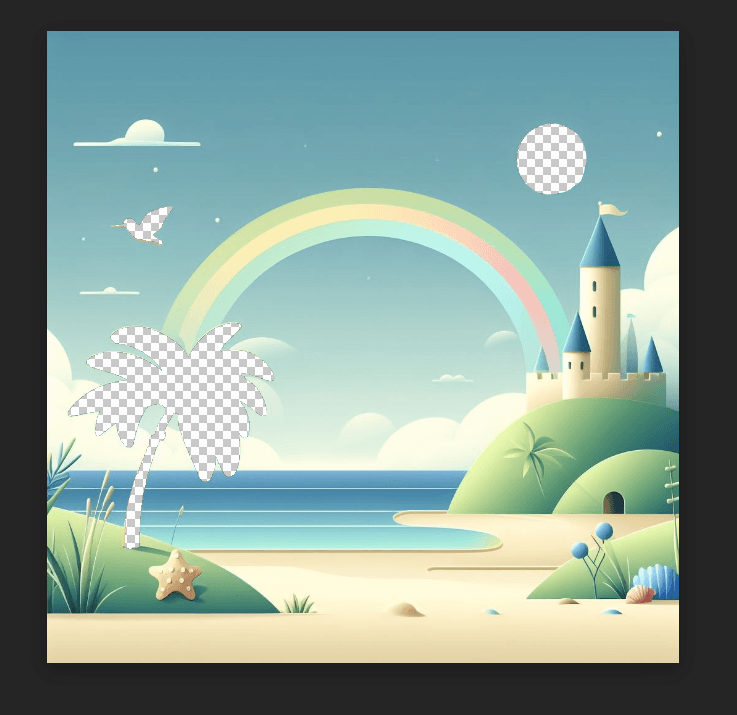
Once all the elements have been removed, you're left with a simplified image.
We now save this image carefully.
Photopea | Online Photo Editor
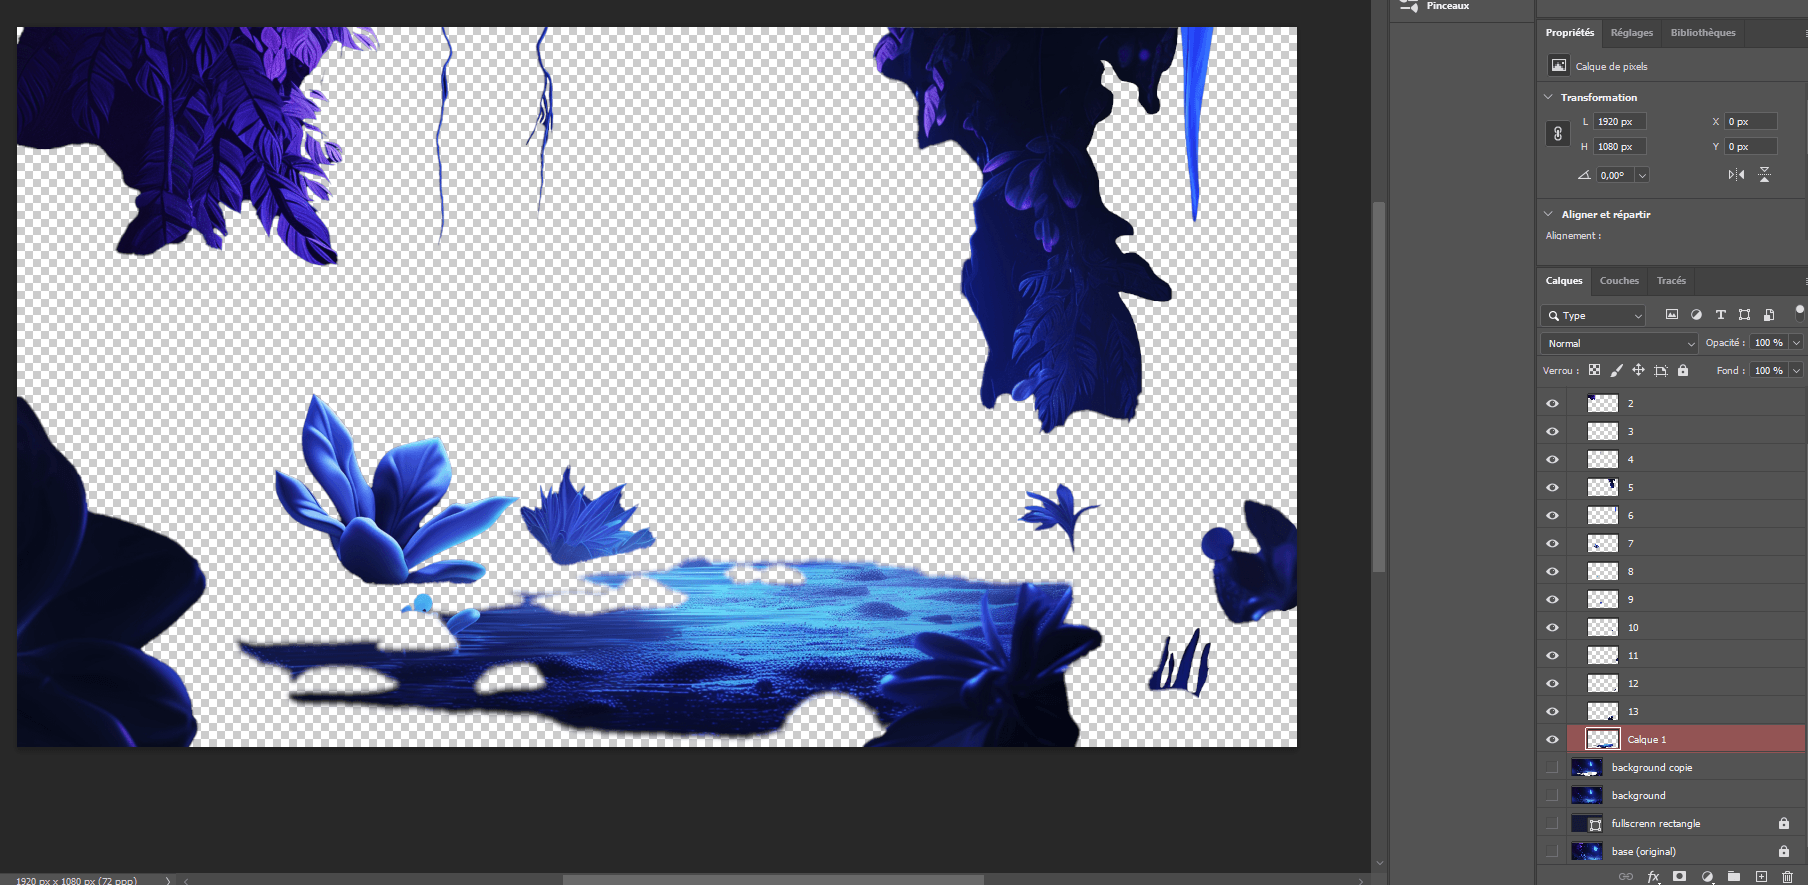
Here, we'll take the free online Photoshop (or any other equivalent tool, capable of making rough layers). The aim will be to separate the elements and put them in specific layers to then recreate the image from scratch.
Pro: go directly to Photoshop
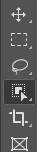
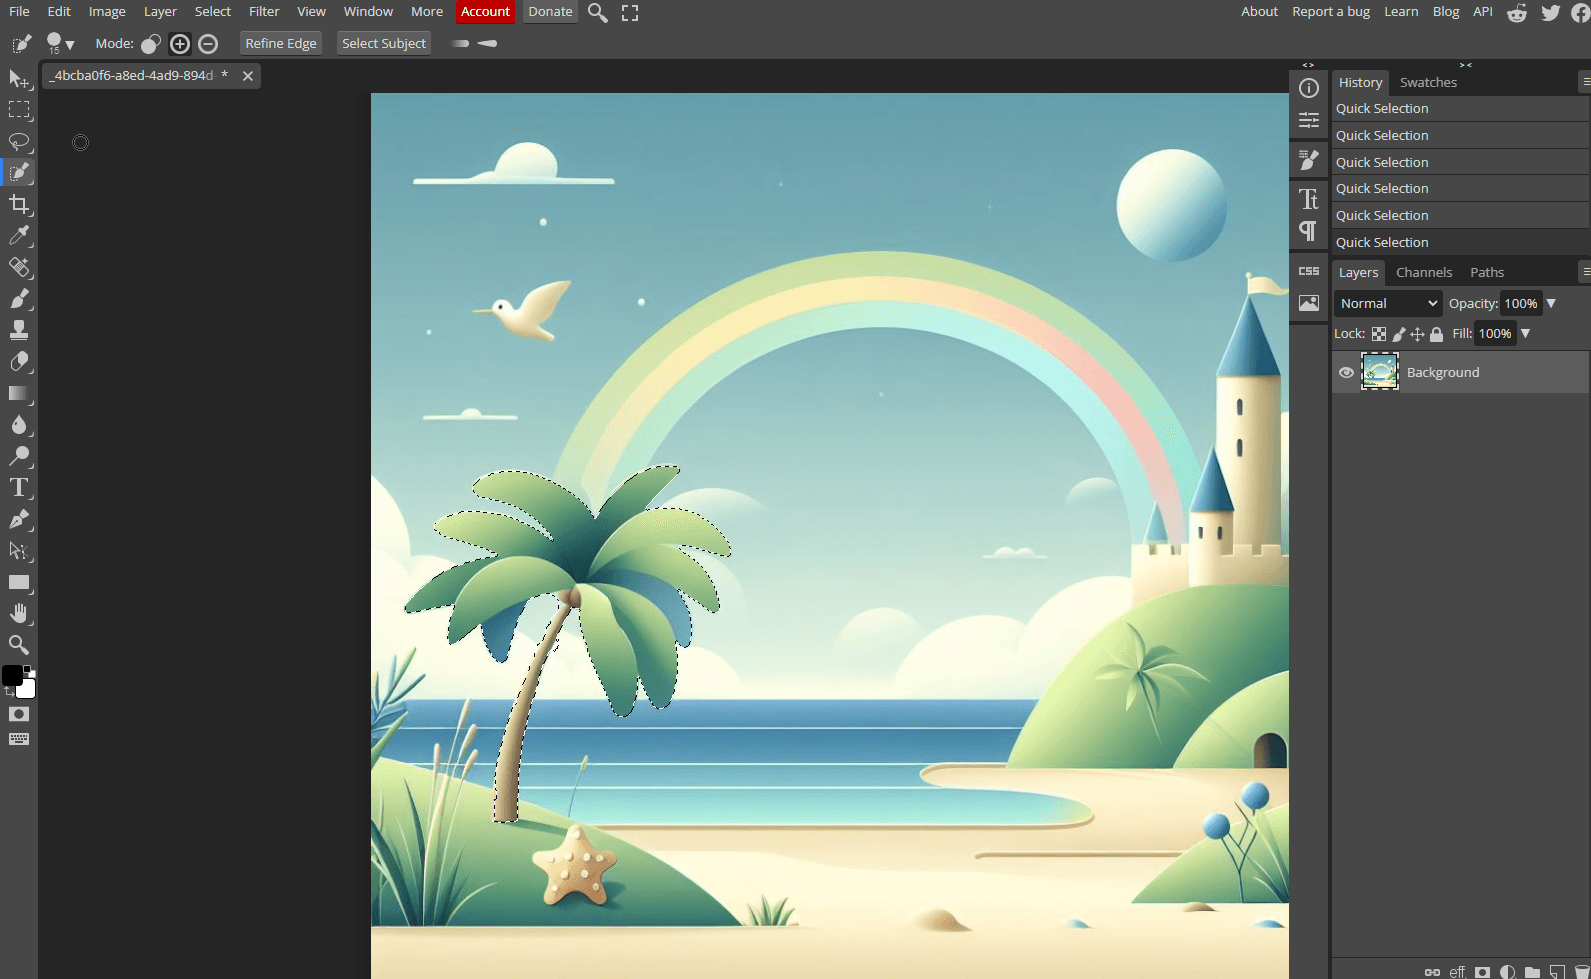
Use clipping tools, lasso, magic wand, object selection, whatever - the aim is simply to separate elements between each layer.
Photoshop's object selection tool works great:
Photopea has the same tool:
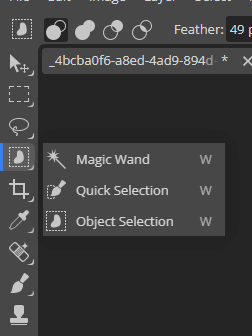
Slightly less powerful, but works pretty well for simple things.
Put the images back together, starting with the simplified image and the separate layers.

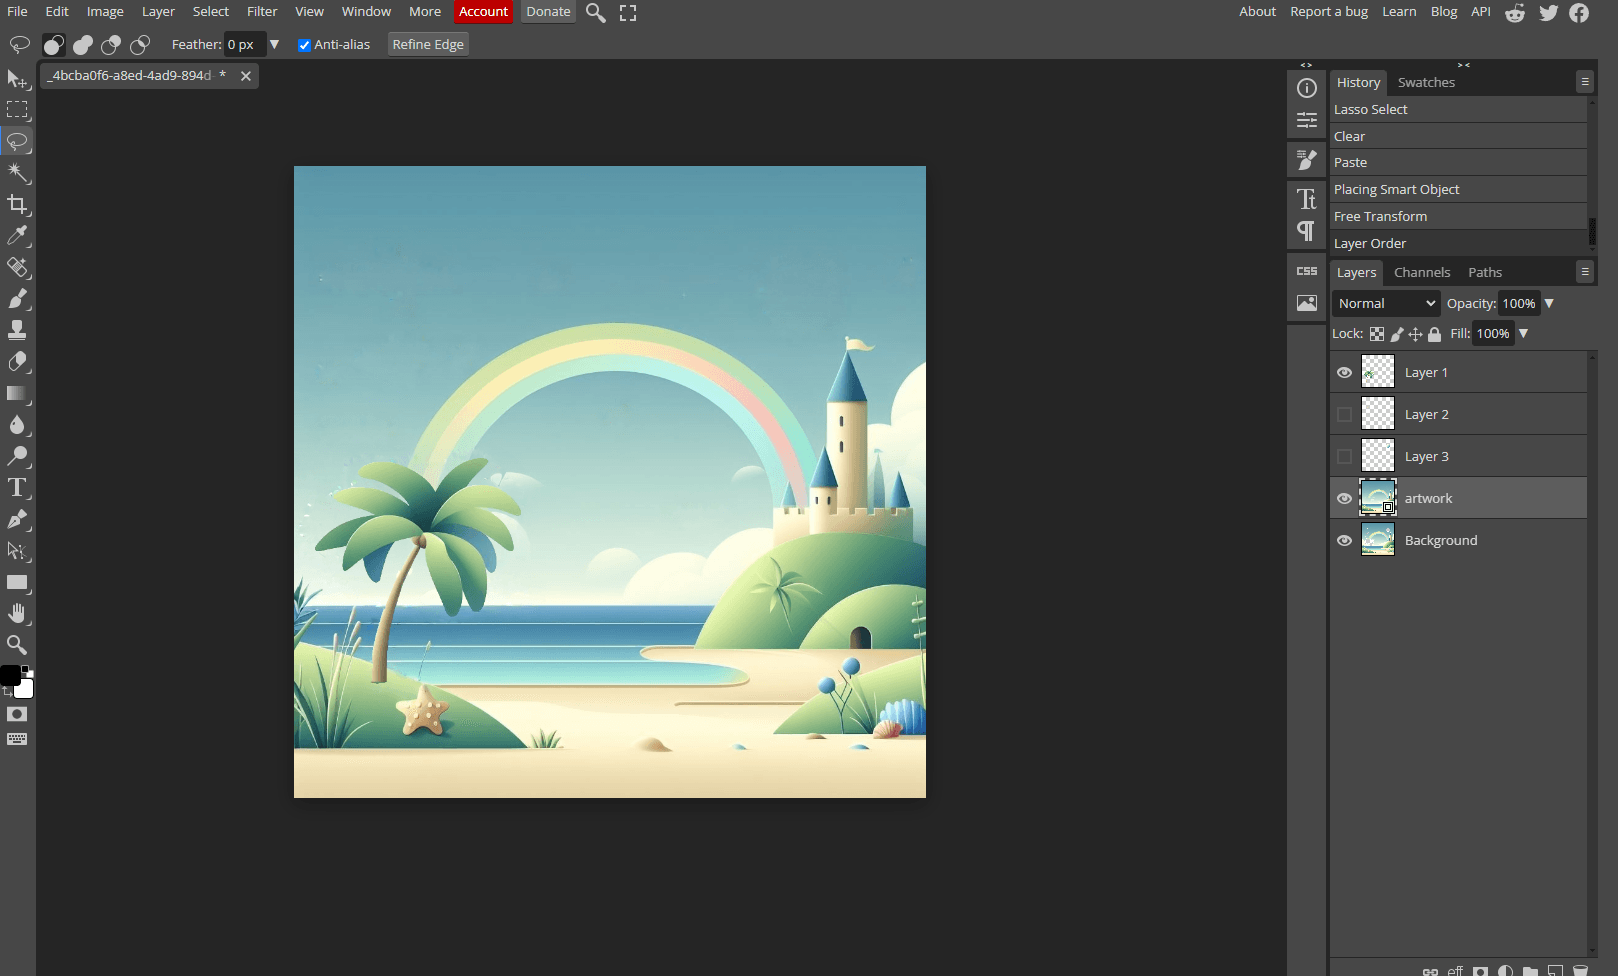
If you're on Photoshop, and want to use After Effects in the next step, you can just save the .psd, as After Effects is able to separate the layers itself directly from the .psd.
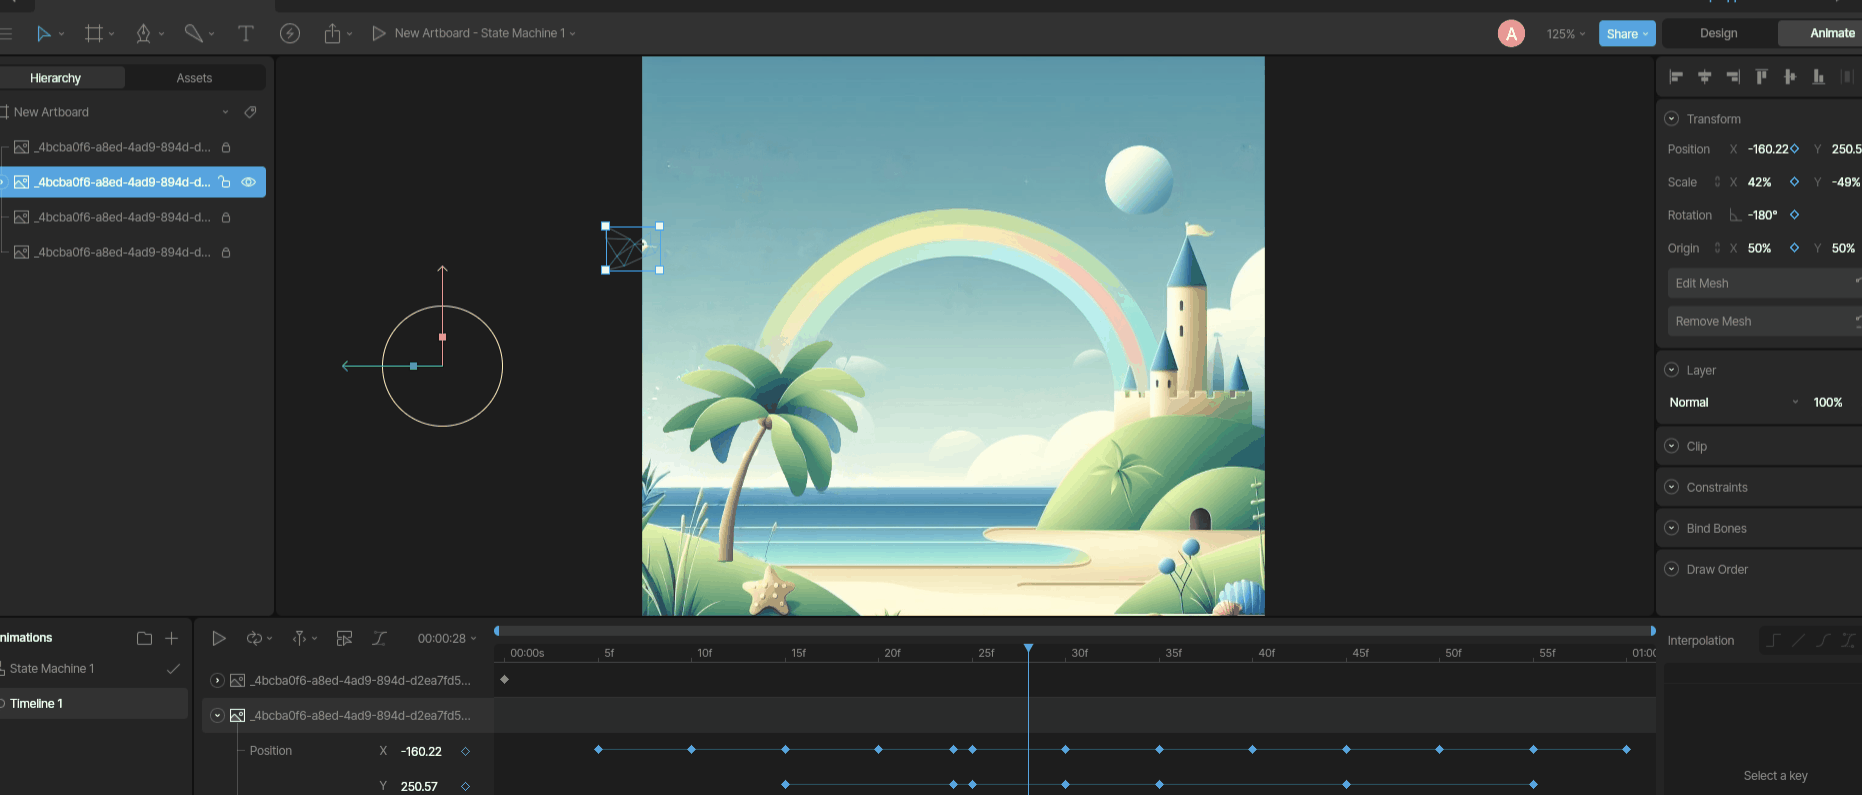
Rive app
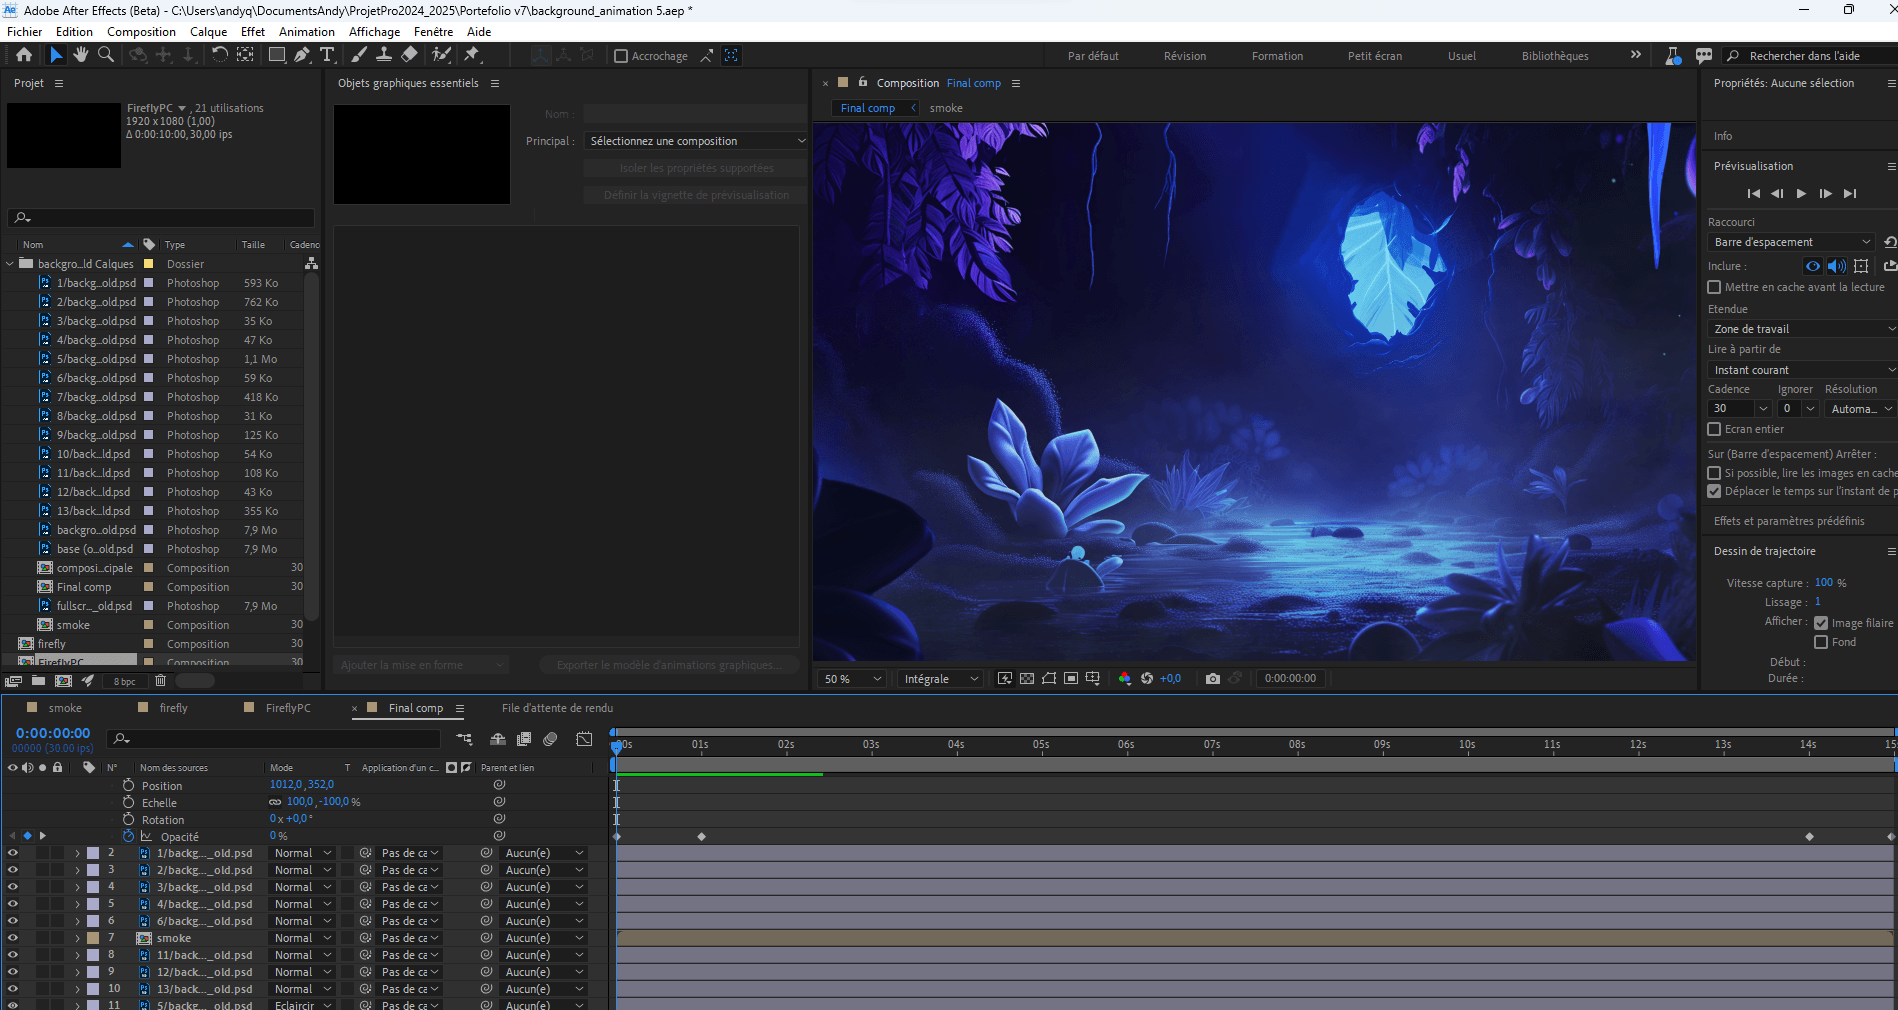
This is where we move on to the animation part, where we'll be using Rive, but we can also use After Effects (for a fee) and Lottie JS , or any other alternative.
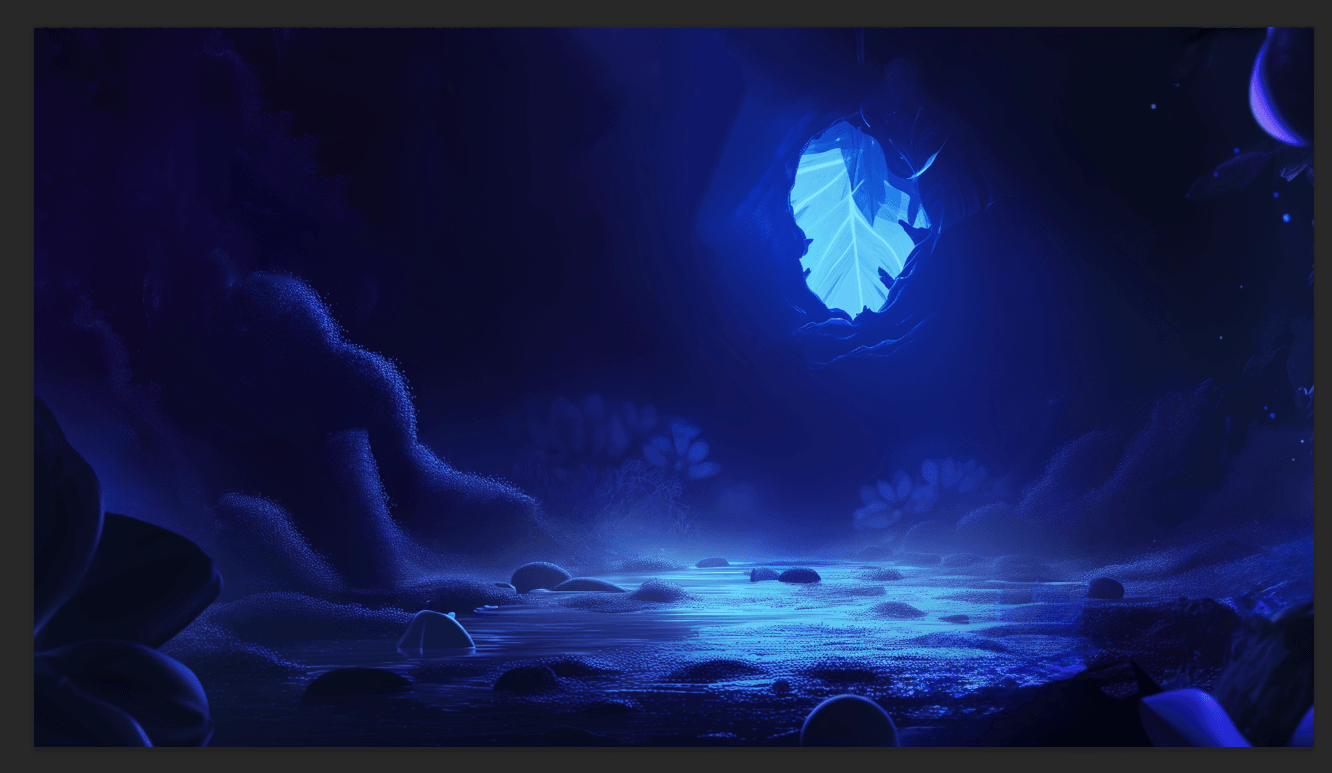
The idea is to recreate the image with each saved image.
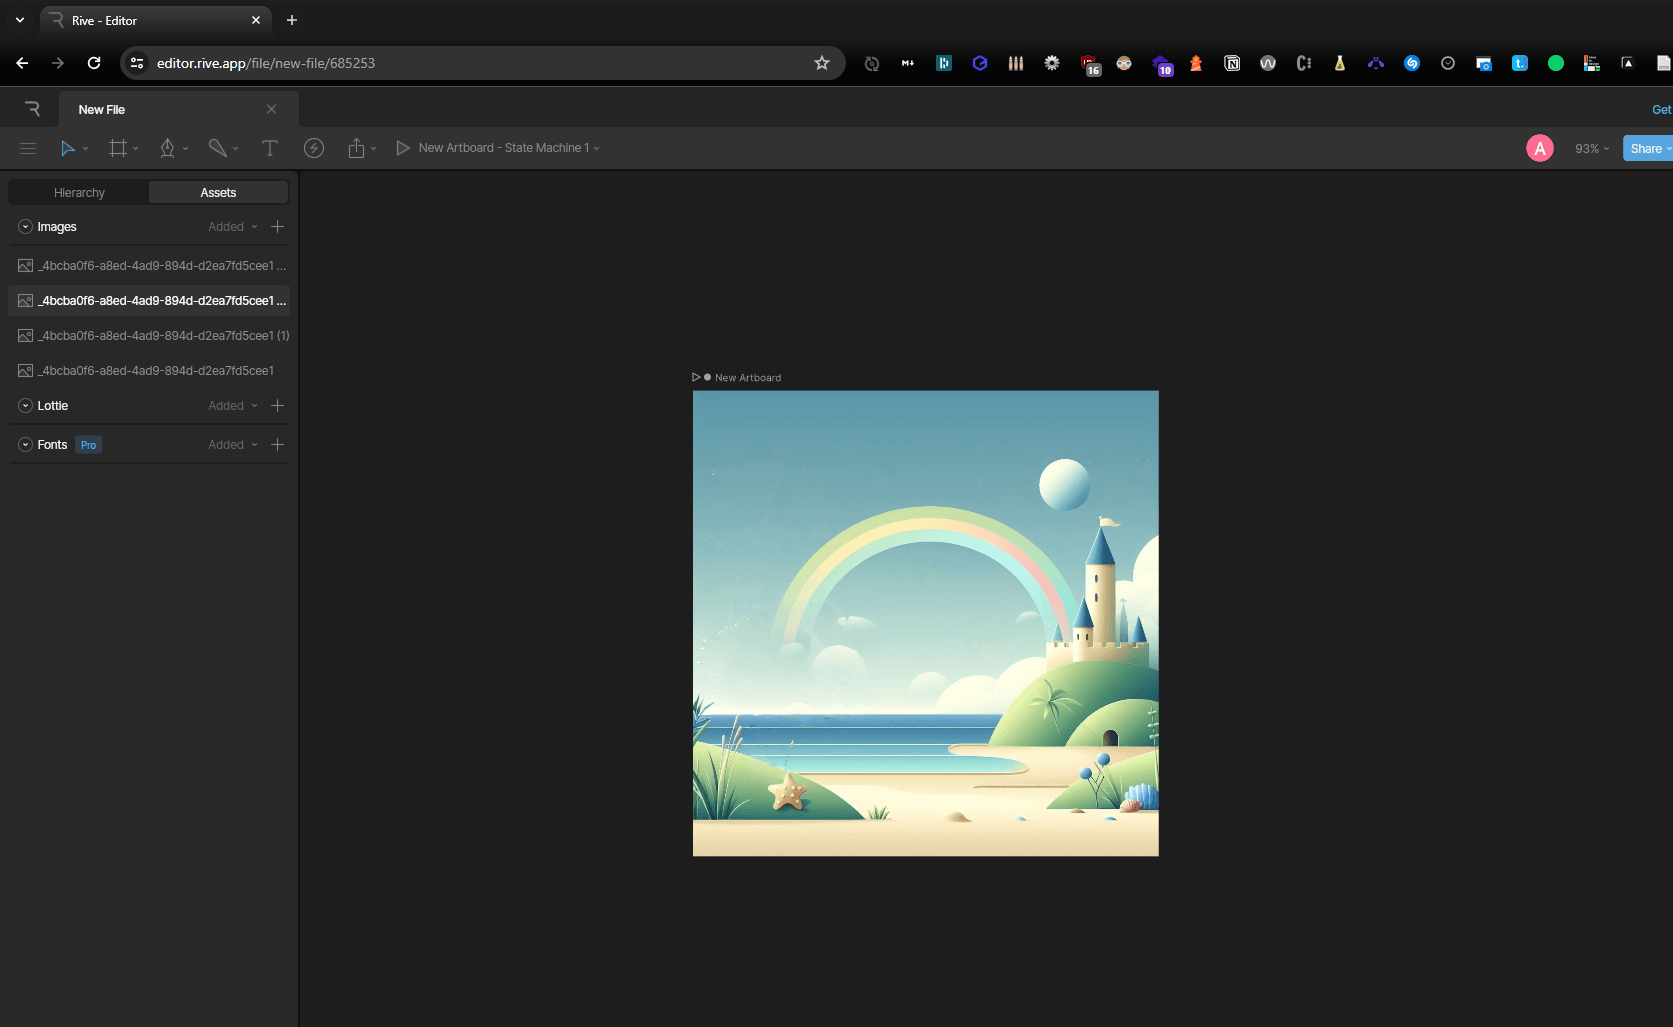
We then remake the image on shore using our various elements:
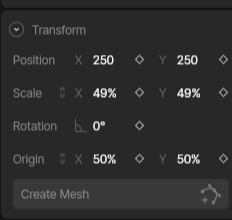
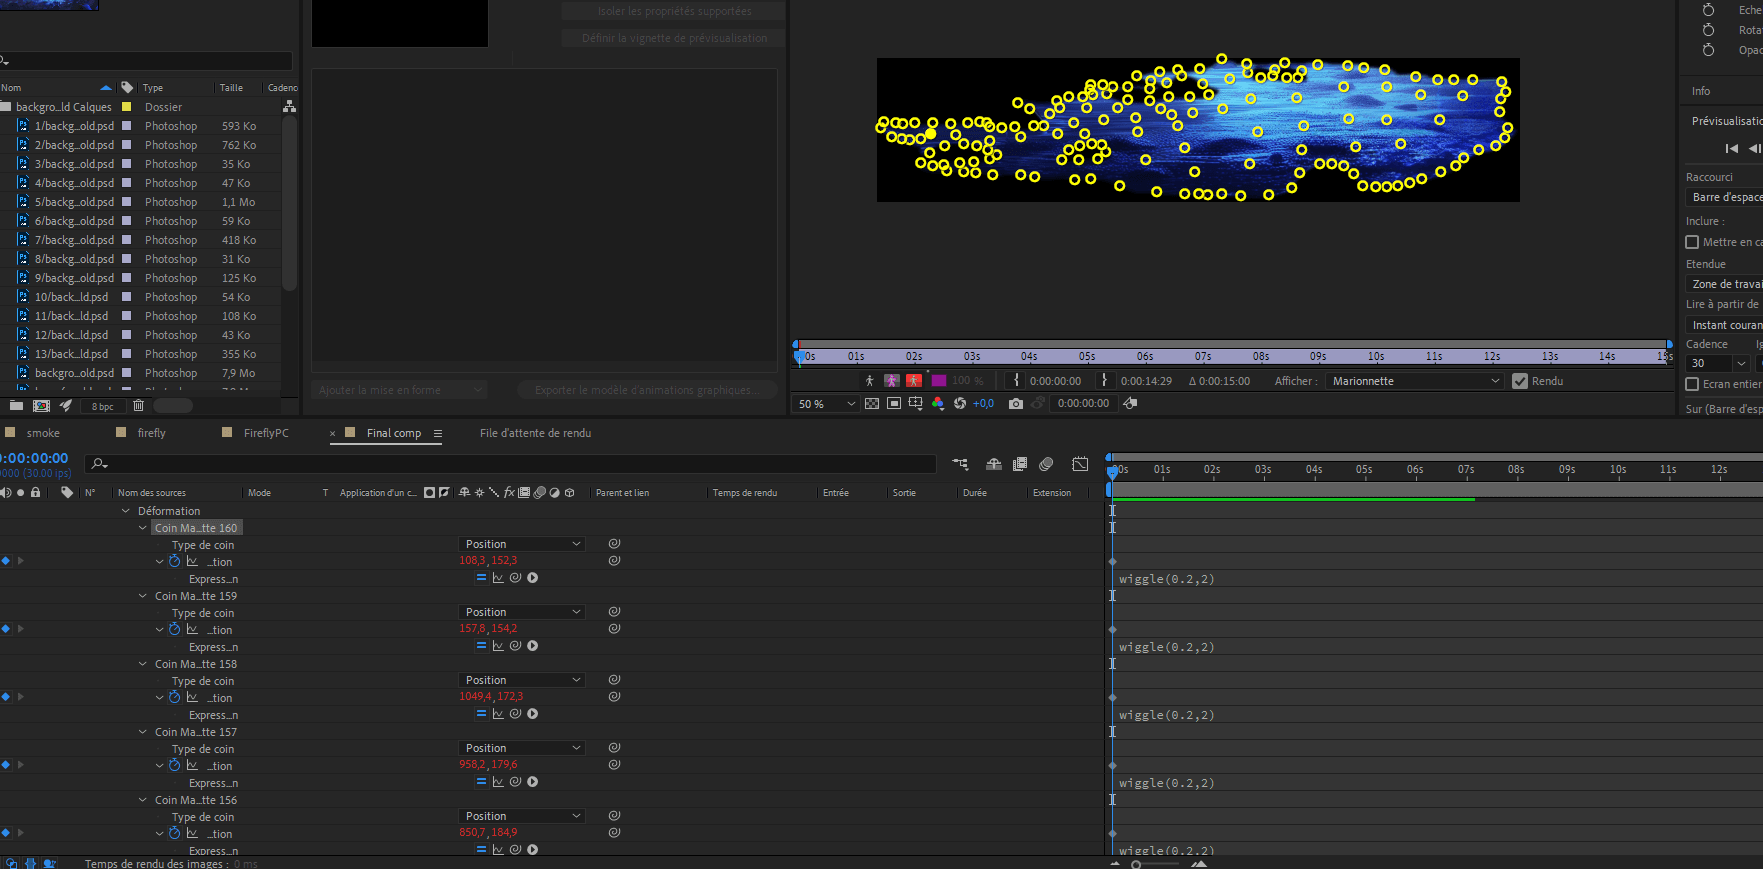
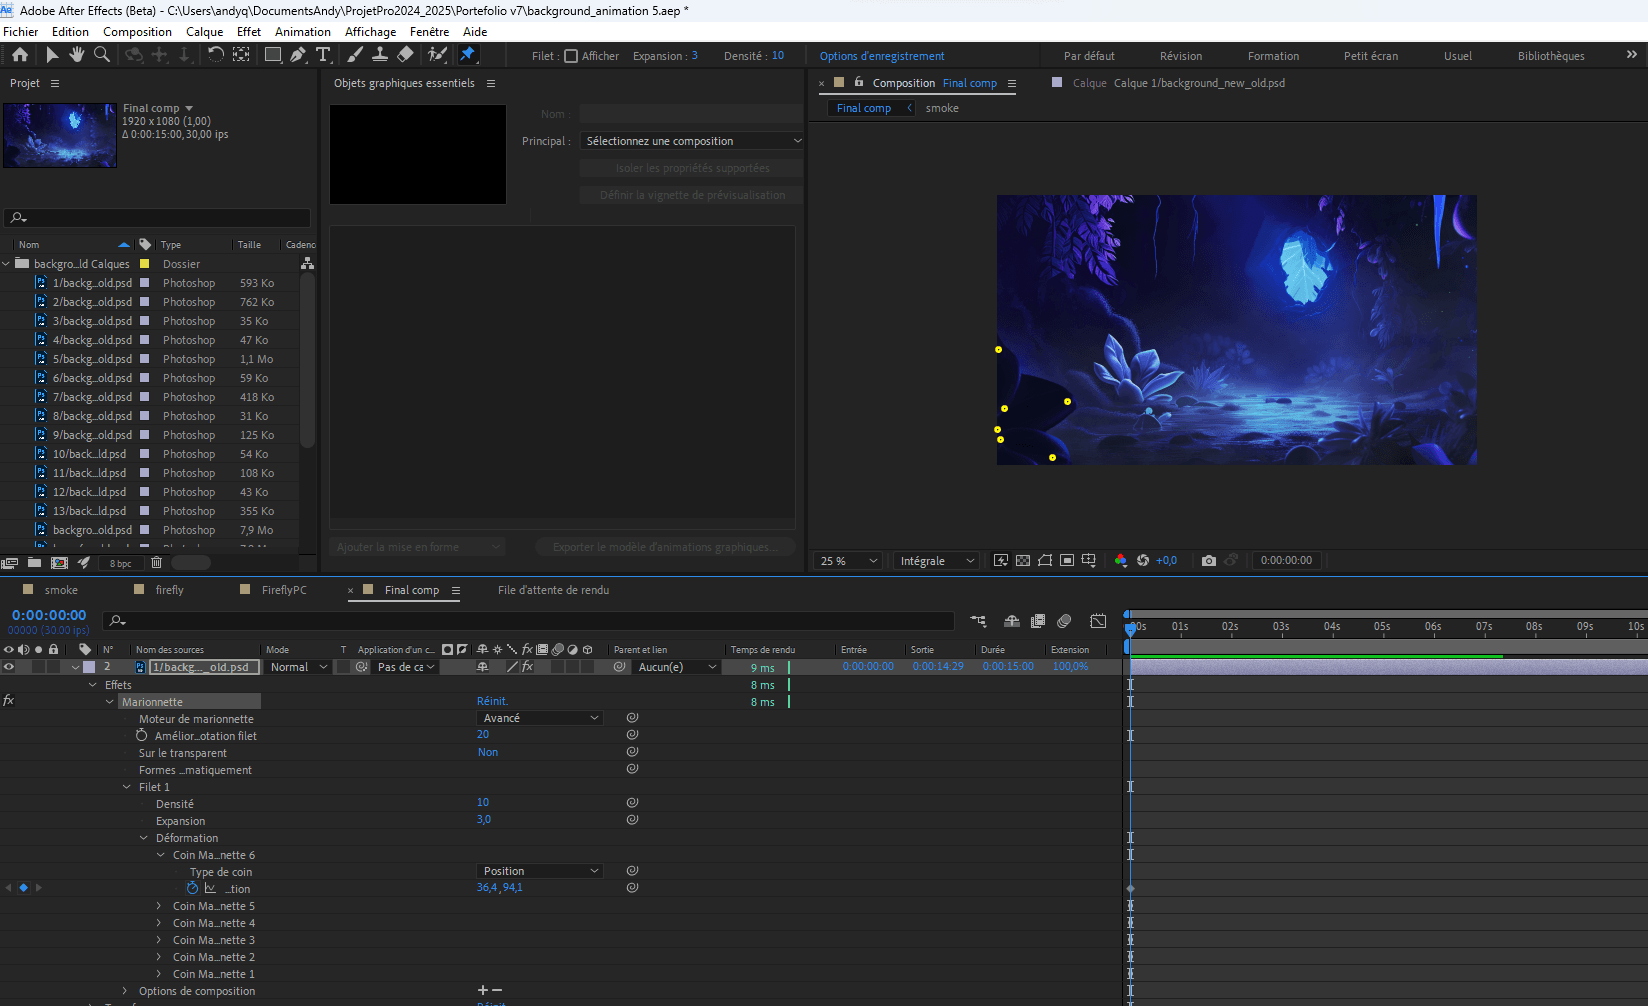
Once done, we move on to the animation part, taking the seagull as an example, focusing on the "create mesh" part on the right!
We surround our subject, then change keyframes.
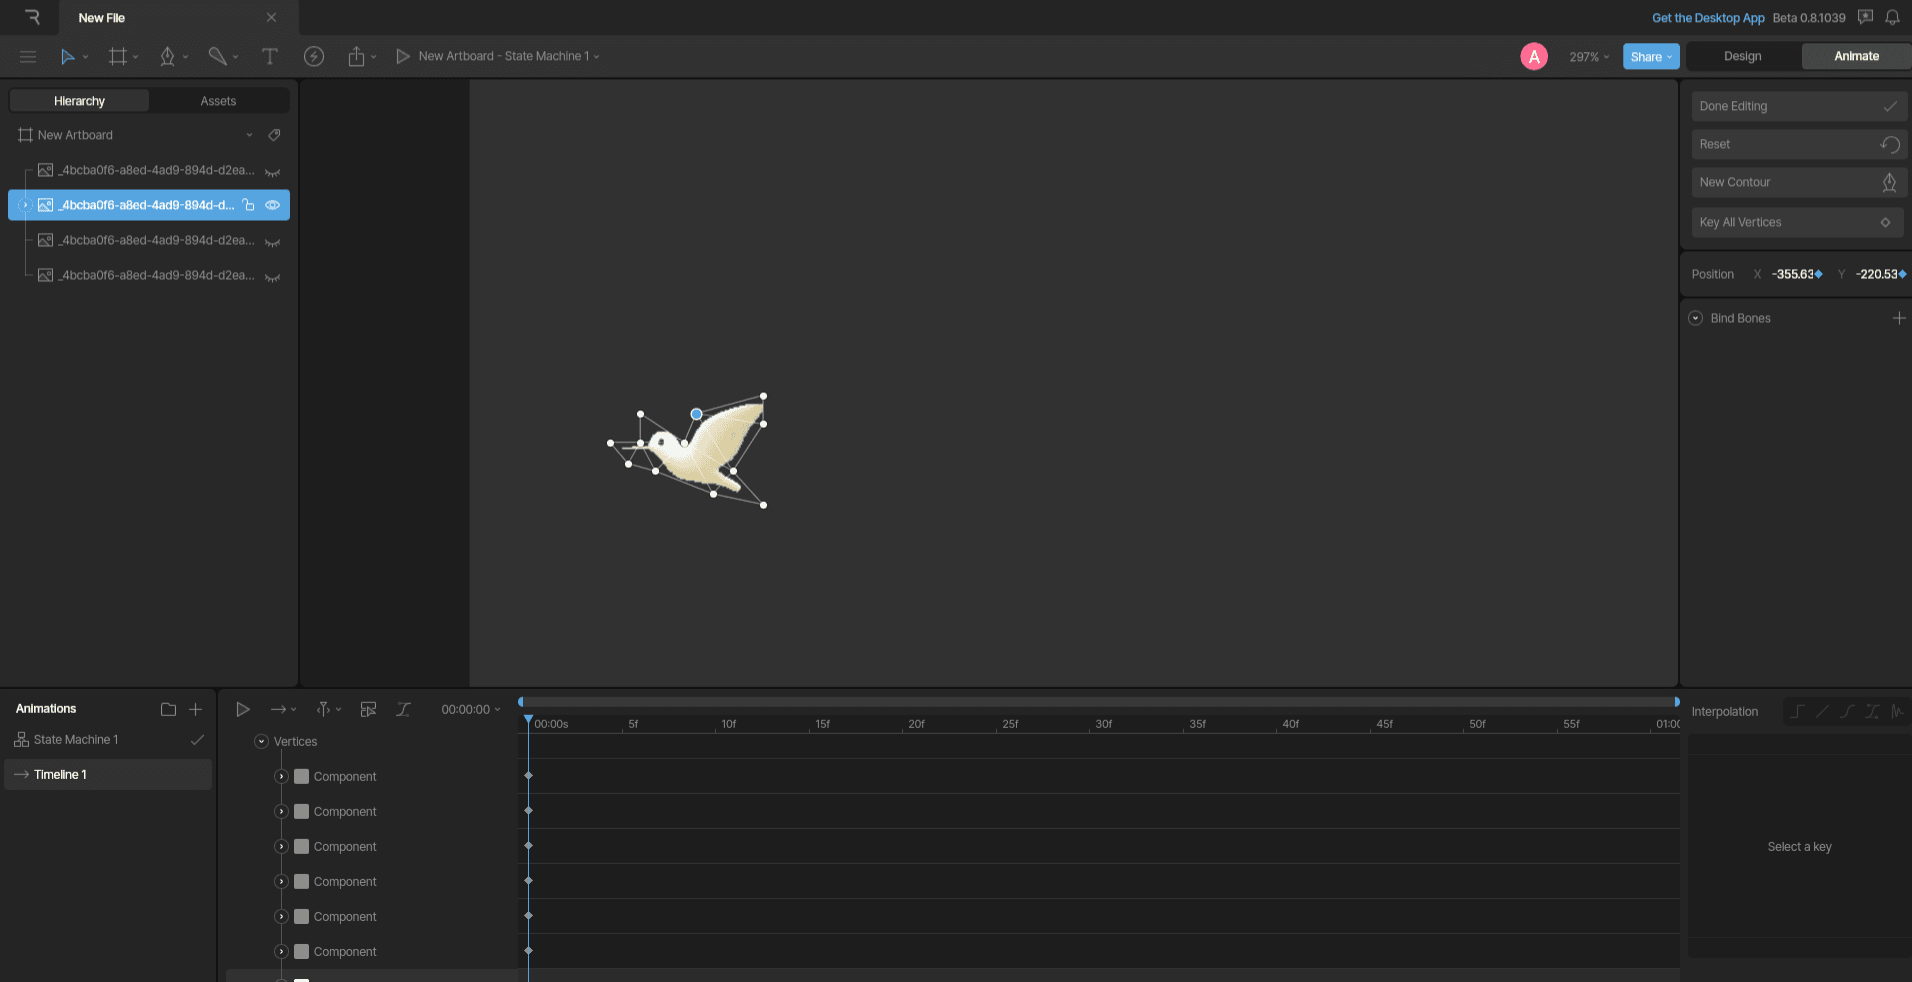
Then, after changing keyframes, we select our mesh points to move, and move them.
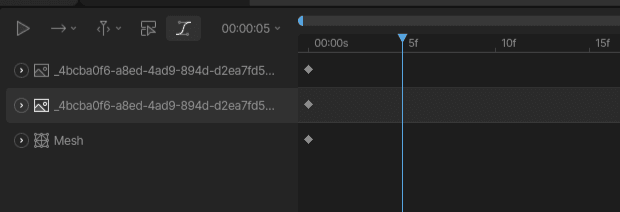
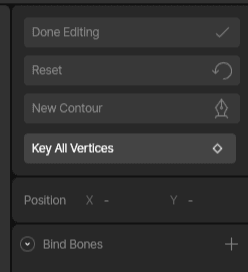
We move the points, then change frames, several times:
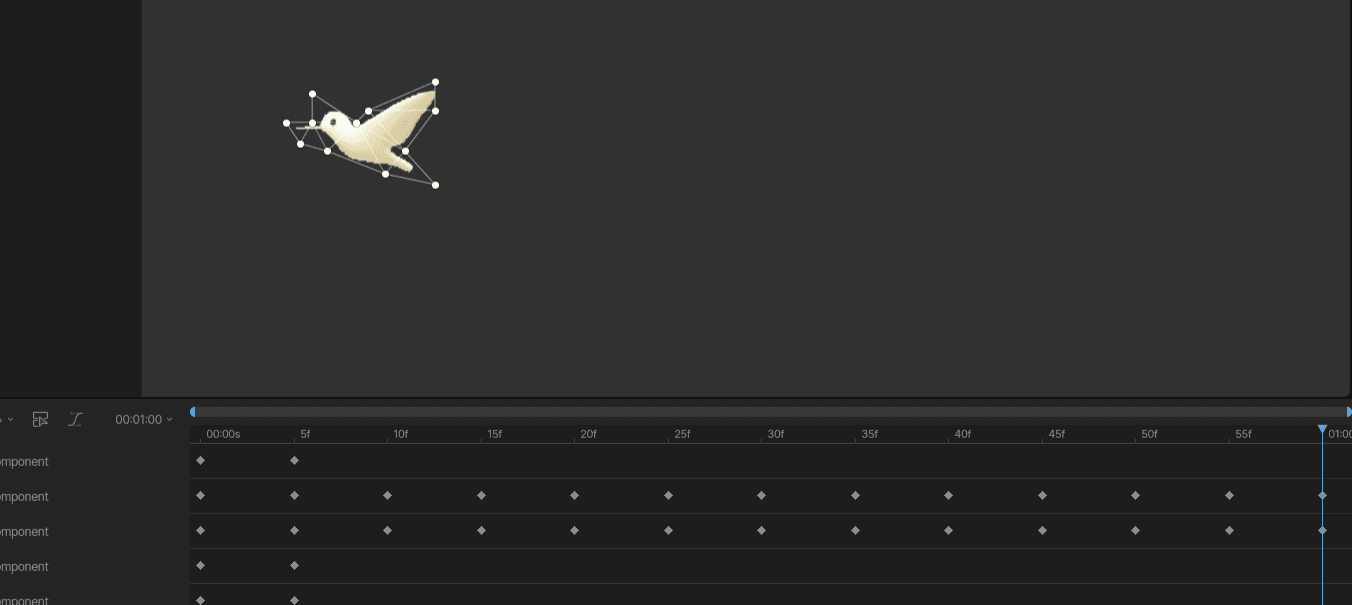
And presto! All you have to do is do this for all the elements! :D
Have fun!
For animations in After Effects, you can use on the puppet points

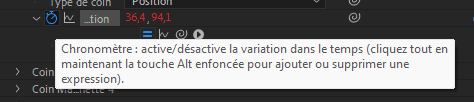
On the keyframe function (the little stopwatch), hold down the "alt" key while clicking, then use

wiggle(frequency, variation) to simulate randomness!
Hosting:
- Vimeo
<video></video>\- blob storage
- YouTube
- svg animation
- gif
- apng
- lottie integration (canvas html)
- rive integration (canvas html)
Example of what I did for my site:
I placed my dots on each element of each layer separately, then animated the whole thing so that it looks like this:
There are :
- Fireflies
- Each plant
- the water
- Light from the hole in the center
- Smoke
-> that's just over 20 different, differently animated layers!
Example with Stable Diffusion XL (Hugging Face)
🚀 Thanks for reading!
If you enjoyed this article, feel free to share it around.
💡 Got an idea? Let's talk !☕