Setting up a dev environment for Wordpress Plugin: Step-by-step guide
Posted on - September 3, 2024 by Andy Cinquin
Plugin developmentForVoyezWeb developmentCapRoverCoolifyPHP developmentMySQL databasesDevelopment environmentWordPress plugin
Prerequisites
Before starting this tutorial, you need to have:
- PHP 8.2 installed
- An available database (MySQL or MariaDB)
- A server with CapRover / Coolify
Setting up the environment
Hello everyone,
In this article, we'll see how I developed the ForVoyez plugin, the steps I went through, and how I approached it.
First, for the dev environment, I had taken a course from Grafikart a few years ago, and I remembered they used "WordPlate" (GitHub - vinkla/wordplate: WordPlate is a boilerplate for WordPress, built with Composer and designed with sensible defaults.)
So I went to check out the repo in question, and I found it wasn't too bad and could do the job. So I had my WordPress base.
In addition to this base, I needed a base for my database.
To do this, I deployed a database on my CapRover via a MariaDB Docker image.
To do this, I deployed a database on my CapRover via a MariaDB Docker image.
I added the following environment variables:
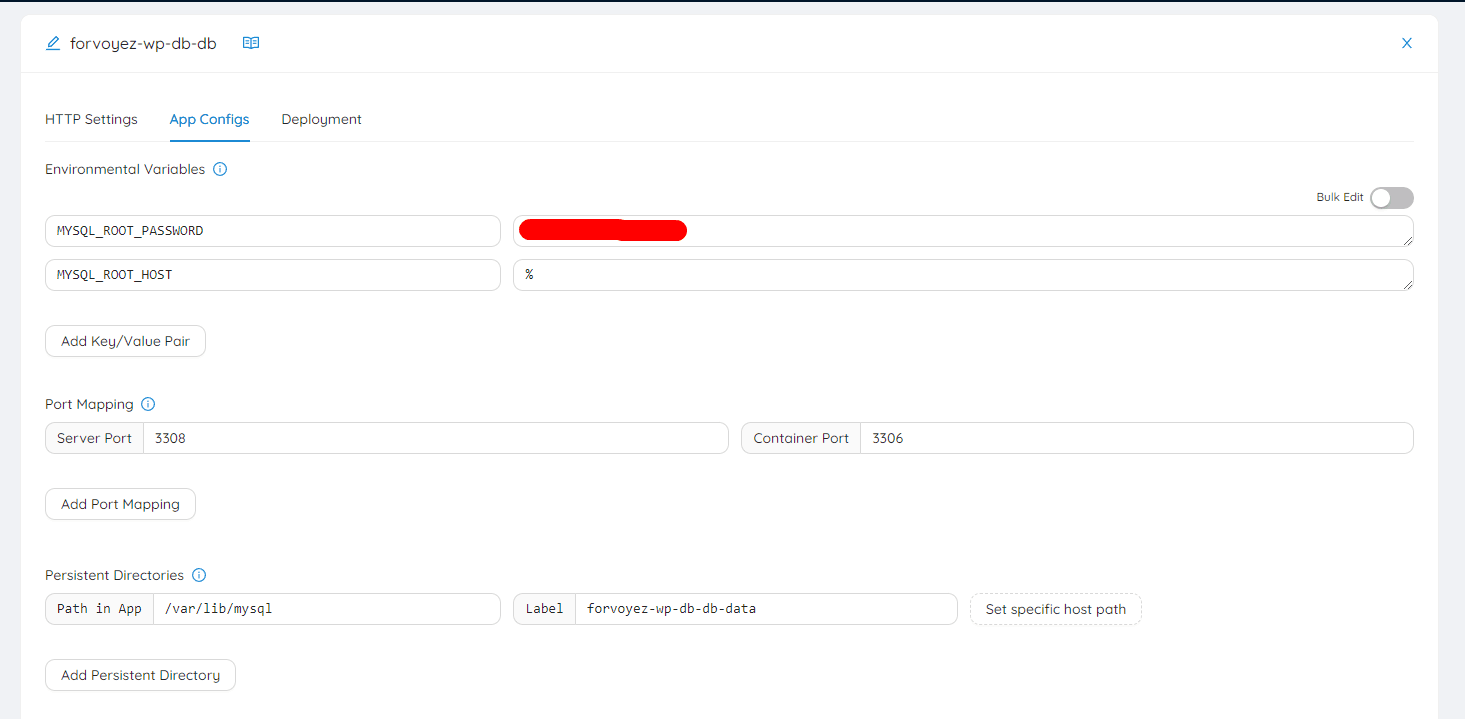
And mapped 3308 & 3308 to be able to access this port from the outside.
Then in my dev environment, after running the following command for WordPlate:
composer create-project --prefer-dist vinkla/wordplate forvoyez-wp
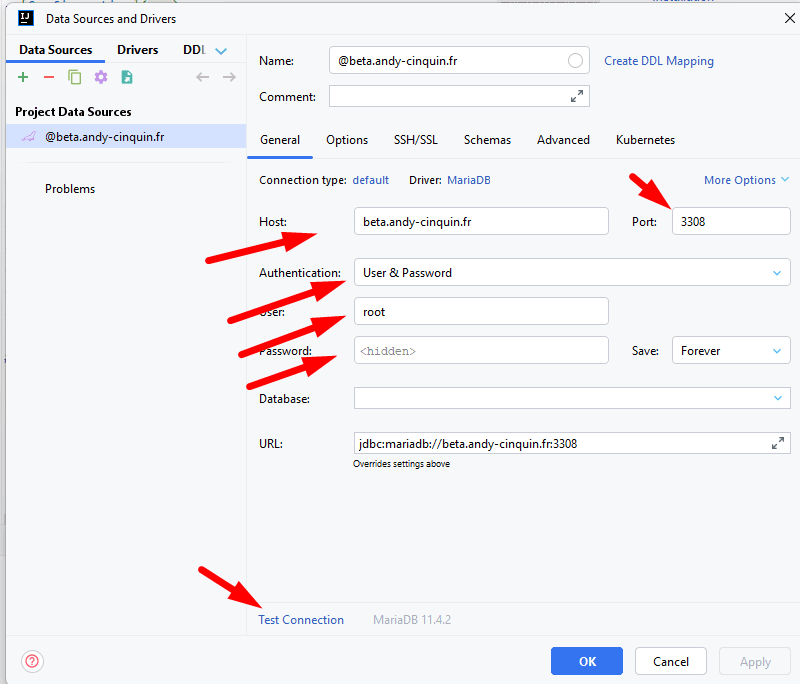
I filled in the corresponding credentials, and in the "database" part of my IDE as well:
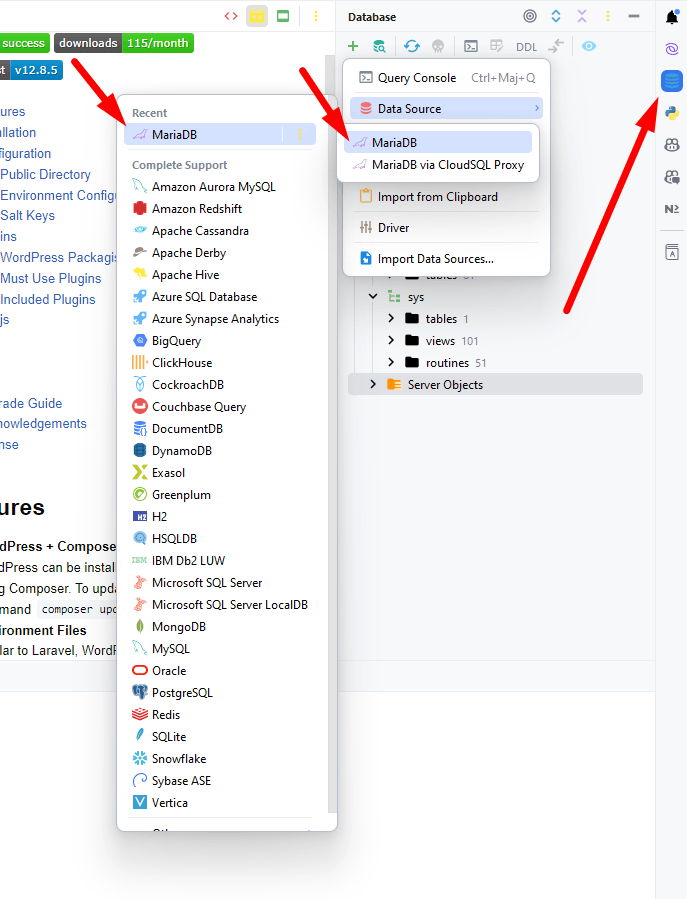
Then I simply needed to fill in the necessary elements: the port, address, db, user, and password.
Then all that's left is to create the database:
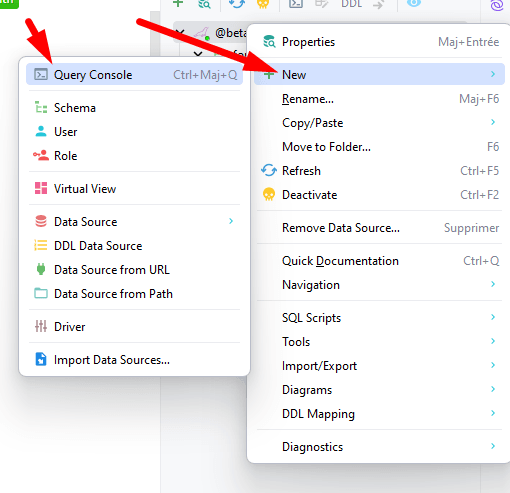
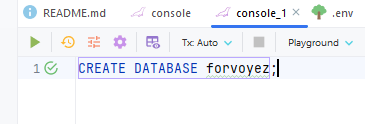
CREATE DATABASE forvoyez
Perfect!
Now we have a functional environment to start with, all that's left is to fill in the environment variables for WordPress!
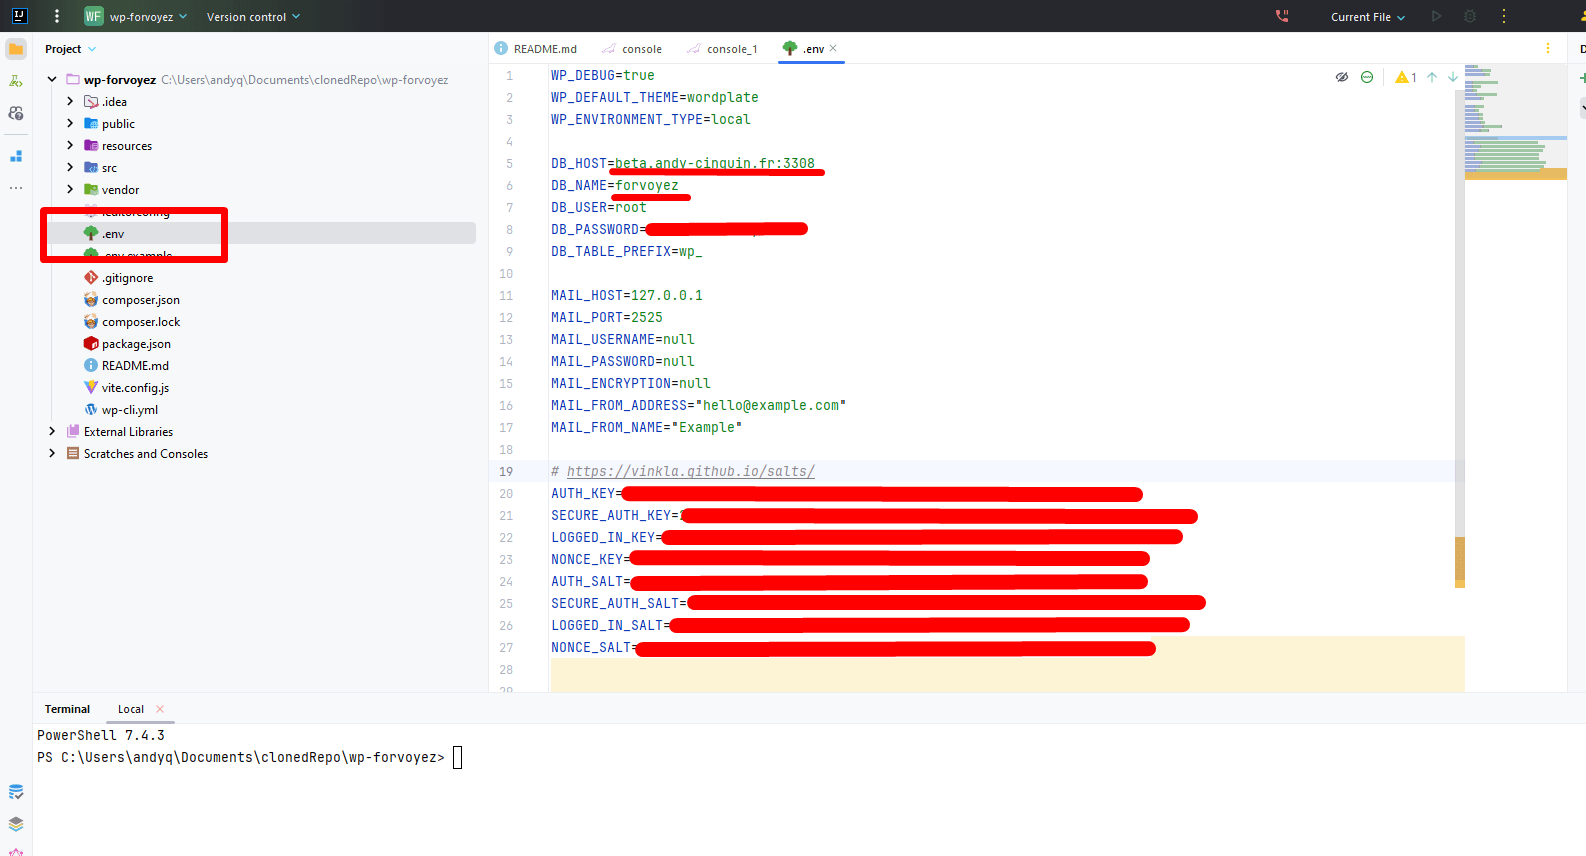
All these elements can be added and replaced, we change the environment variables to connect to the database.
Then, all that's left is to launch WordPress!
We type:
We type:
composer install
and
npm install
then
php -S 127.0.0.1:8000 -t public/
We then go to the URL in question (127.0.0.1) via a browser:


And we fill out the small form!
And we're off to develop this plugin!
🚀 Thanks for reading!
If you enjoyed this article, feel free to share it around.
💡 Got an idea? Let's talk !☕