Postiz installation and configuration guide
Posted on - March 3, 2025 by Andy Cinquin
PostizSocial networkingOpen-source
Introduction
Managing posts across different social networks can quickly become complex. To solve this problem, I searched for a tool that would centralize and automate these tasks. Postiz is a particularly interesting open-source solution that combines post scheduling with AI features. In this guide, I'll show you how to install and configure Postiz step by step.
What is Postiz?
Postiz is a social media scheduling tool enhanced with artificial intelligence features. It is completely open-source and can be self-hosted.
Official resources:
Prerequisites
- A server with Coolify installed
- A Cloudflare account to use the R2 service (storage)
- Access to the APIs of the social networks you want to use
Installation on Coolify
-
Log in to your Coolify instance and create a new application

-
Select the option to deploy from GitHub

-
Configure the basic application settings

Storage Configuration with Cloudflare R2
Cloudflare R2 storage is necessary for Postiz to manage the media for your posts.
-
Access your Cloudflare dashboard and navigate to R2

-
Create a new bucket named "postiz" (or a name of your choice)
-
Generate API tokens to access this bucket

Select the bucket you just created and note all the generated IDs and secrets
Environment Variables Configuration
In Coolify, add the following environment variables with your own Cloudflare R2 values:
## Replace these dummy values with your Cloudflare information
## Don't forget to add your server's public IP address to the allowlist for the API token
## You can find your account ID in your Cloudflare account URL
CLOUDFLARE_ACCOUNT_ID="YourAccountID"
CLOUDFLARE_ACCESS_KEY="YourAccessKey"
CLOUDFLARE_SECRET_ACCESS_KEY="YourSecretAccessKey"
CLOUDFLARE_BUCKETNAME="postiz"
CLOUDFLARE_BUCKET_URL="https://YourAccountID.r2.cloudflarestorage.com/"
## Keep this value as "auto"
CLOUDFLARE_REGION="auto"
Application Deployment
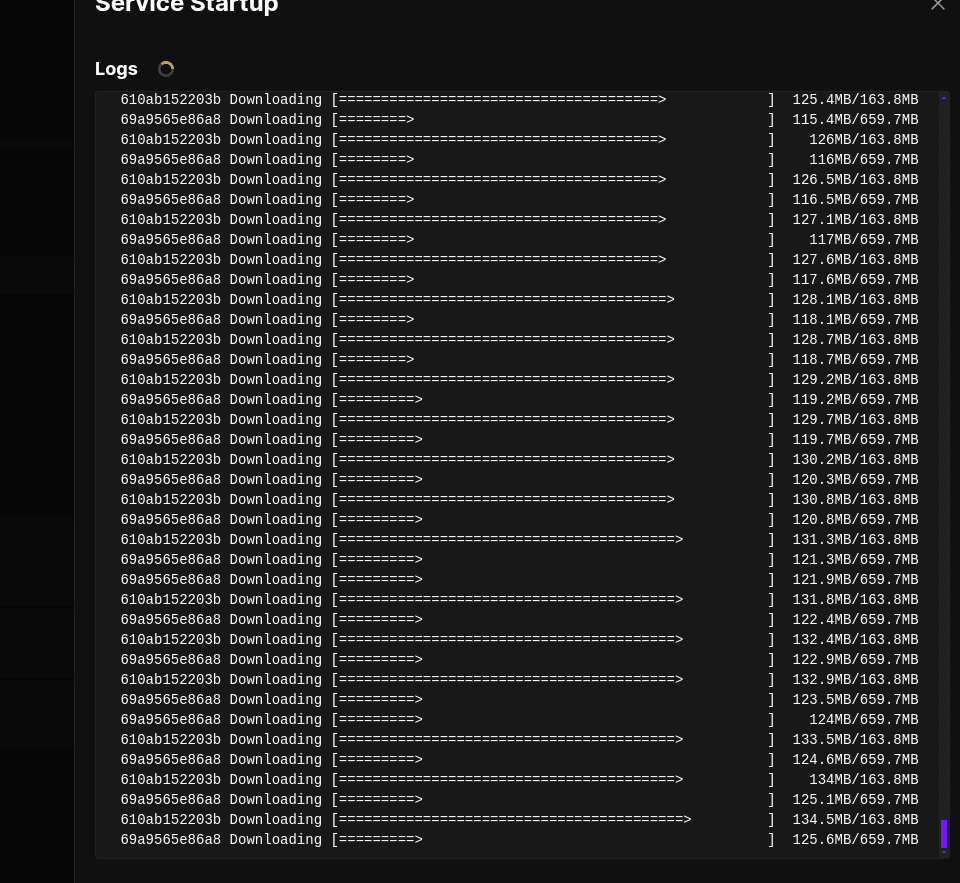
Once the environment variables are configured, start the deployment by clicking the "Deploy" button:

API Configuration for Social Networks
LinkedIn Configuration
-
Create an application on the LinkedIn Developer Portal

-
Request access to the following products:
- Share on LinkedIn
- Sign In with LinkedIn using OpenID Connect
- Advertising API
-
Configure the redirect URL to your Postiz instance on port 5000

- Wait for LinkedIn to validate your access requests
Configuration for Other Social Networks
For each social network you want to use, you'll need to follow a similar process:
- Create a developer application on the platform
- Obtain the necessary API keys
- Configure the redirect URLs
- Add this information in the Postiz settings
Conclusion
Postiz is a powerful tool for centralized management of your social media posts. Its installation may seem complex at first, but once configured, it saves you valuable time and improves your publishing workflow.
The main advantages of Postiz include:
- Centralized scheduling for multiple platforms
- AI features to generate and improve content
- Open-source and self-hosted solution, ensuring control over your data
- Intuitive interface
Feel free to contribute to the project on GitHub if you encounter issues or want to suggest improvements!
🚀 Thanks for reading!
If you enjoyed this article, feel free to share it around.
💡 Got an idea? Let's talk !☕